
The Image Options Bar
At the top of the Image Manager is the Image Options Bar. Read on to learn what it can help you do.

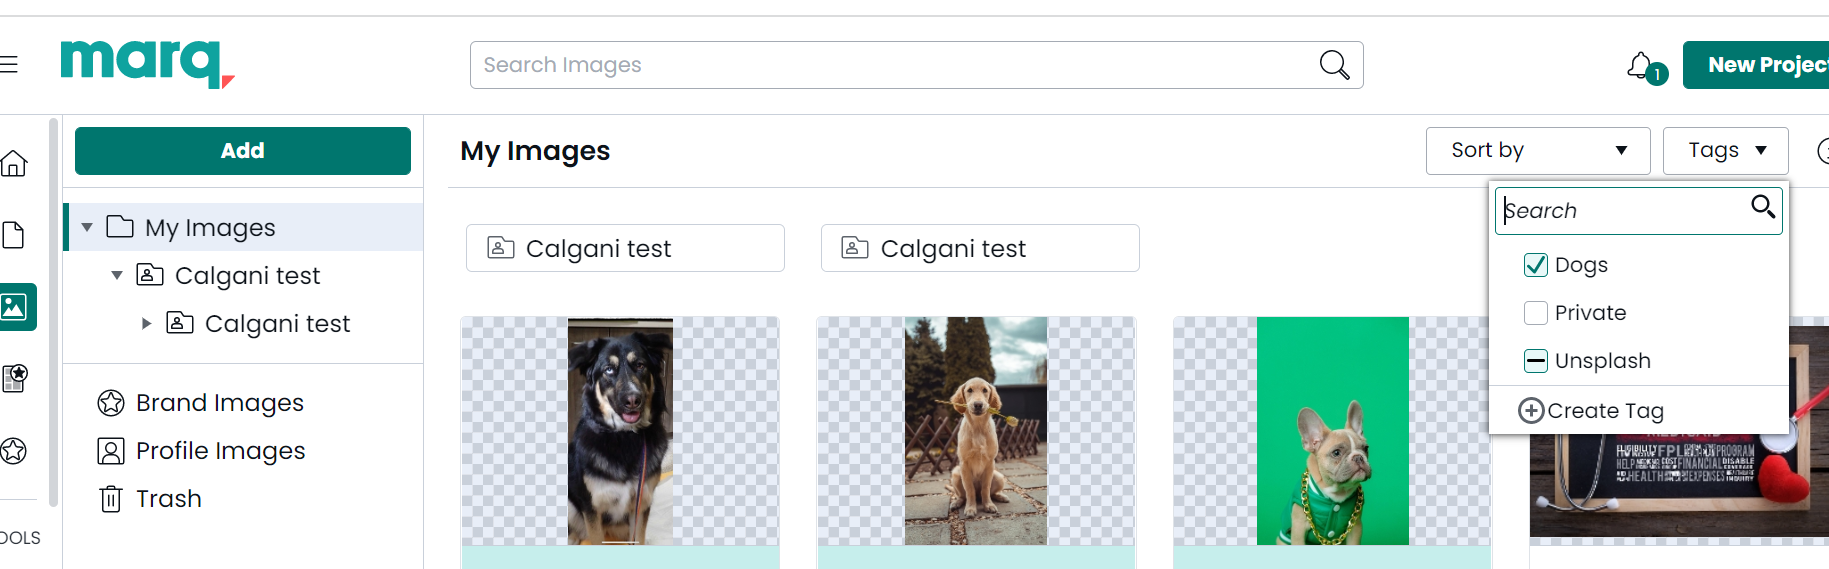
Search for an image: Type a string into the search bar and press “Enter”. Your display will filter out any images without a name or tag containing that string.
Alternatively, click and select a tag from the drop-down menu. The search bar will auto-populate with the tag(s) you select.
Sort your images: Click "Sort by" and select "Recently Added" or “Name.”
Create a tag: Click and select "Create Tag". Note: tags will only appear on your account. Tags will not show up for other team members.
Rename or delete a tag: Right-click the tag name and select “Rename” or “Delete.”
Upload an image: Click "+Upload", select the file or files you would like to import and click “Open”. You can also drag and drop the image file from your desktop into the Image Manager or directly onto the canvas.
Search for an image: Type a string into the search bar and press “Enter”. Your display will filter out any images without a name or tag containing that string.
Alternatively, click
Sort your images: Click "Sort by" and select "Recently Added" or “Name.”
Create a tag: Click
Rename or delete a tag: Right-click the tag name and select “Rename” or “Delete.”
Upload an image: Click "+Upload", select the file or files you would like to import and click “Open”. You can also drag and drop the image file from your desktop into the Image Manager or directly onto the canvas.
The Image Library
At the heart of your Image Manager is the Image Library, which displays all the images within a selected folder. By default, this library will display the contents of the “My Images” folder.
Select an image: Click the image thumbnail.
Select multiple images: Hold down “Command” or “Ctrl” while clicking the images.
Select all images: Choose “Select All” from the Image Options Menu or use the keyboard shortcut “Command/Ctrl” + “A”.
Insert an image into your project: Double-click the image or select “Insert” from the Image Options Menu.
Insert multiple images as a slideshow: Select “Insert as Slideshow” from the Image Options Menu. The images will appear as a stack on your canvas.
Rename an image: Select “Rename” from the Image Options Menu and type to replace the highlighted text.
Tag an image: Select “Tags” from the Image Options Menu, then click. Click the box to the left of a tag to assign it to the image.
Remove a tag: Select “Tags” from the Image Options Menu and click the “x” that appears next to the tag.
Share an image: Select “Share” from the Image Options Menu. Enter a name, email address, username, or group name into the dialog box and click “Share.” The image will appear in the user(s) “Shared With Me” folder.
Move an image to the trash: Drag and drop the image into the trash folder or select “Trash” from the Image Options Menu.
Note: Selecting an image and pressing “Delete” will remove the image from your project, not move it to the trash.
Select an image: Click the image thumbnail.
Select multiple images: Hold down “Command” or “Ctrl” while clicking the images.
Select all images: Choose “Select All” from the Image Options Menu or use the keyboard shortcut “Command/Ctrl” + “A”.
Insert an image into your project: Double-click the image or select “Insert” from the Image Options Menu.
Insert multiple images as a slideshow: Select “Insert as Slideshow” from the Image Options Menu. The images will appear as a stack on your canvas.
Rename an image: Select “Rename” from the Image Options Menu and type to replace the highlighted text.
Tag an image: Select “Tags” from the Image Options Menu, then click
Remove a tag: Select “Tags” from the Image Options Menu and click the “x” that appears next to the tag.
Share an image: Select “Share” from the Image Options Menu. Enter a name, email address, username, or group name into the dialog box and click “Share.” The image will appear in the user(s) “Shared With Me” folder.
Move an image to the trash: Drag and drop the image into the trash folder or select “Trash” from the Image Options Menu.
Note: Selecting an image and pressing “Delete” will remove the image from your project, not move it to the trash.
The Folder Manager
The left column of the Image Manager contains the Folder Manager. The top folder, “My Images,” contains all the images you have uploaded to your account, and the bottom “Trash” folder stores deleted images. If another Marq user has shared an image with you, a “Shared With Me” folder will appear, and if you are on a team account, a “Brand Images” folder may display. Any custom folder you create will also appear in this column. Read on to learn how to work with the Folder Manager.
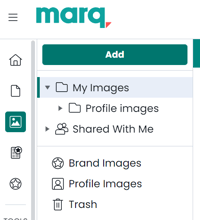
Create folders and subfolders: Click "Create Folder" at the top or right-click a folder label and select “Create Folder.” The new folder will appear as a subfolder within the folder or subfolder that is currently selected.
Move a folder into another: Drag and drop the folder label onto the others.
Rename a folder: Right-click the folder and select “Rename.”
Share a folder: Right-click the folder and select “Share." Enter a name, email address, username, or group name into the dialog box and click “Share.” The folder will appear in the user(s) “Shared With Me” folder.
Delete a folder: Drag and drop the folder into the trash or right-click the folder and select “Trash.”
Restore an item from your trash: Locate the image or folder in the trash and select “Restore” from the Image Options Menu.
Delete an item from your account: Locate the image or folder in your trash and select “Delete” from the Image Options Menu. Click “Delete” on the pop-up to confirm.
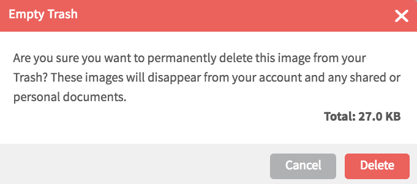
Empty your trash: Navigate to the trash folder and click “Empty” in the top right. Click “Delete” on the pop-up to confirm.
Note: Items in your trash will appear in your personal and shared projects unless you empty it.
Create folders and subfolders: Click "Create Folder" at the top or right-click a folder label and select “Create Folder.” The new folder will appear as a subfolder within the folder or subfolder that is currently selected.
Move a folder into another: Drag and drop the folder label onto the others.
Rename a folder: Right-click the folder and select “Rename.”
Share a folder: Right-click the folder and select “Share." Enter a name, email address, username, or group name into the dialog box and click “Share.” The folder will appear in the user(s) “Shared With Me” folder.
Delete a folder: Drag and drop the folder into the trash or right-click the folder and select “Trash.”
Restore an item from your trash: Locate the image or folder in the trash and select “Restore” from the Image Options Menu.
Delete an item from your account: Locate the image or folder in your trash and select “Delete” from the Image Options Menu. Click “Delete” on the pop-up to confirm.
Empty your trash: Navigate to the trash folder and click “Empty” in the top right. Click “Delete” on the pop-up to confirm.
Note: Items in your trash will appear in your personal and shared projects unless you empty it.
Underneath the Folder Manager are two links that will navigate you to Marq's search and storage integrations.
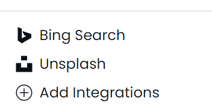
The Bing Search integration allows you to search the web for images that you can use in your projects. Type a keyword into the search bar and an assortment of available images will appear.
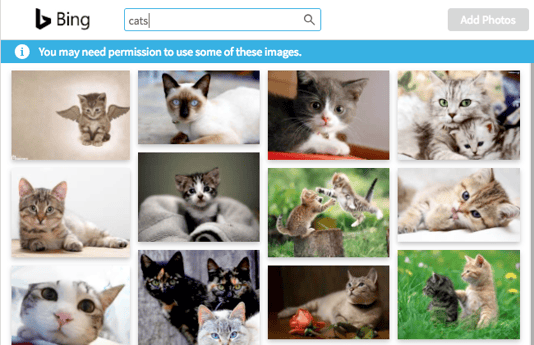
Double-click an image or select it and click "Add Photos" to add it to the Image Manager. To select multiple photos at once, hold down “command/Ctrl” when selecting them. All images added from Bing will automatically be tagged “Bing Search.” To enable another integration, click "Add Integrations", hover over the desired integration, and click "Enable".
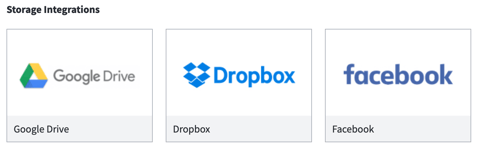
With the Google Drive, Facebook, and Dropbox integrations, you can access your images stored in these external platforms through Marq.
Icon Finder is similar to Bing Search - after enabling this integration, you can perform a keyword search to find and upload the perfect icon for your design needs.
Unsplash has a large library of professional stock images you can use for free for personal or commercial use. To learn more about Unsplash, click here.
Underneath the integration links is a storage bar that displays how much of your account storage you are currently taking up. Click the bar to navigate to your Account Storage page, where you can purchase more storage if you are running low.
The Bing Search integration allows you to search the web for images that you can use in your projects. Type a keyword into the search bar and an assortment of available images will appear.
Double-click an image or select it and click "Add Photos" to add it to the Image Manager. To select multiple photos at once, hold down “command/Ctrl” when selecting them. All images added from Bing will automatically be tagged “Bing Search.” To enable another integration, click "Add Integrations", hover over the desired integration, and click "Enable".
With the Google Drive, Facebook, and Dropbox integrations, you can access your images stored in these external platforms through Marq.
Icon Finder is similar to Bing Search - after enabling this integration, you can perform a keyword search to find and upload the perfect icon for your design needs.
Unsplash has a large library of professional stock images you can use for free for personal or commercial use. To learn more about Unsplash, click here.
Underneath the integration links is a storage bar that displays how much of your account storage you are currently taking up. Click the bar to navigate to your Account Storage page, where you can purchase more storage if you are running low.