The project Approval Process allows team admins to manage their team’s project exports by requiring users to request approval before downloading, printing, or publishing their Marq projects.
Enable/disable the approval process
To enable the approval process, go to the team tab. Then click collaboration > Approval process > then enable the require approval for all users (besides team and approval admins) option.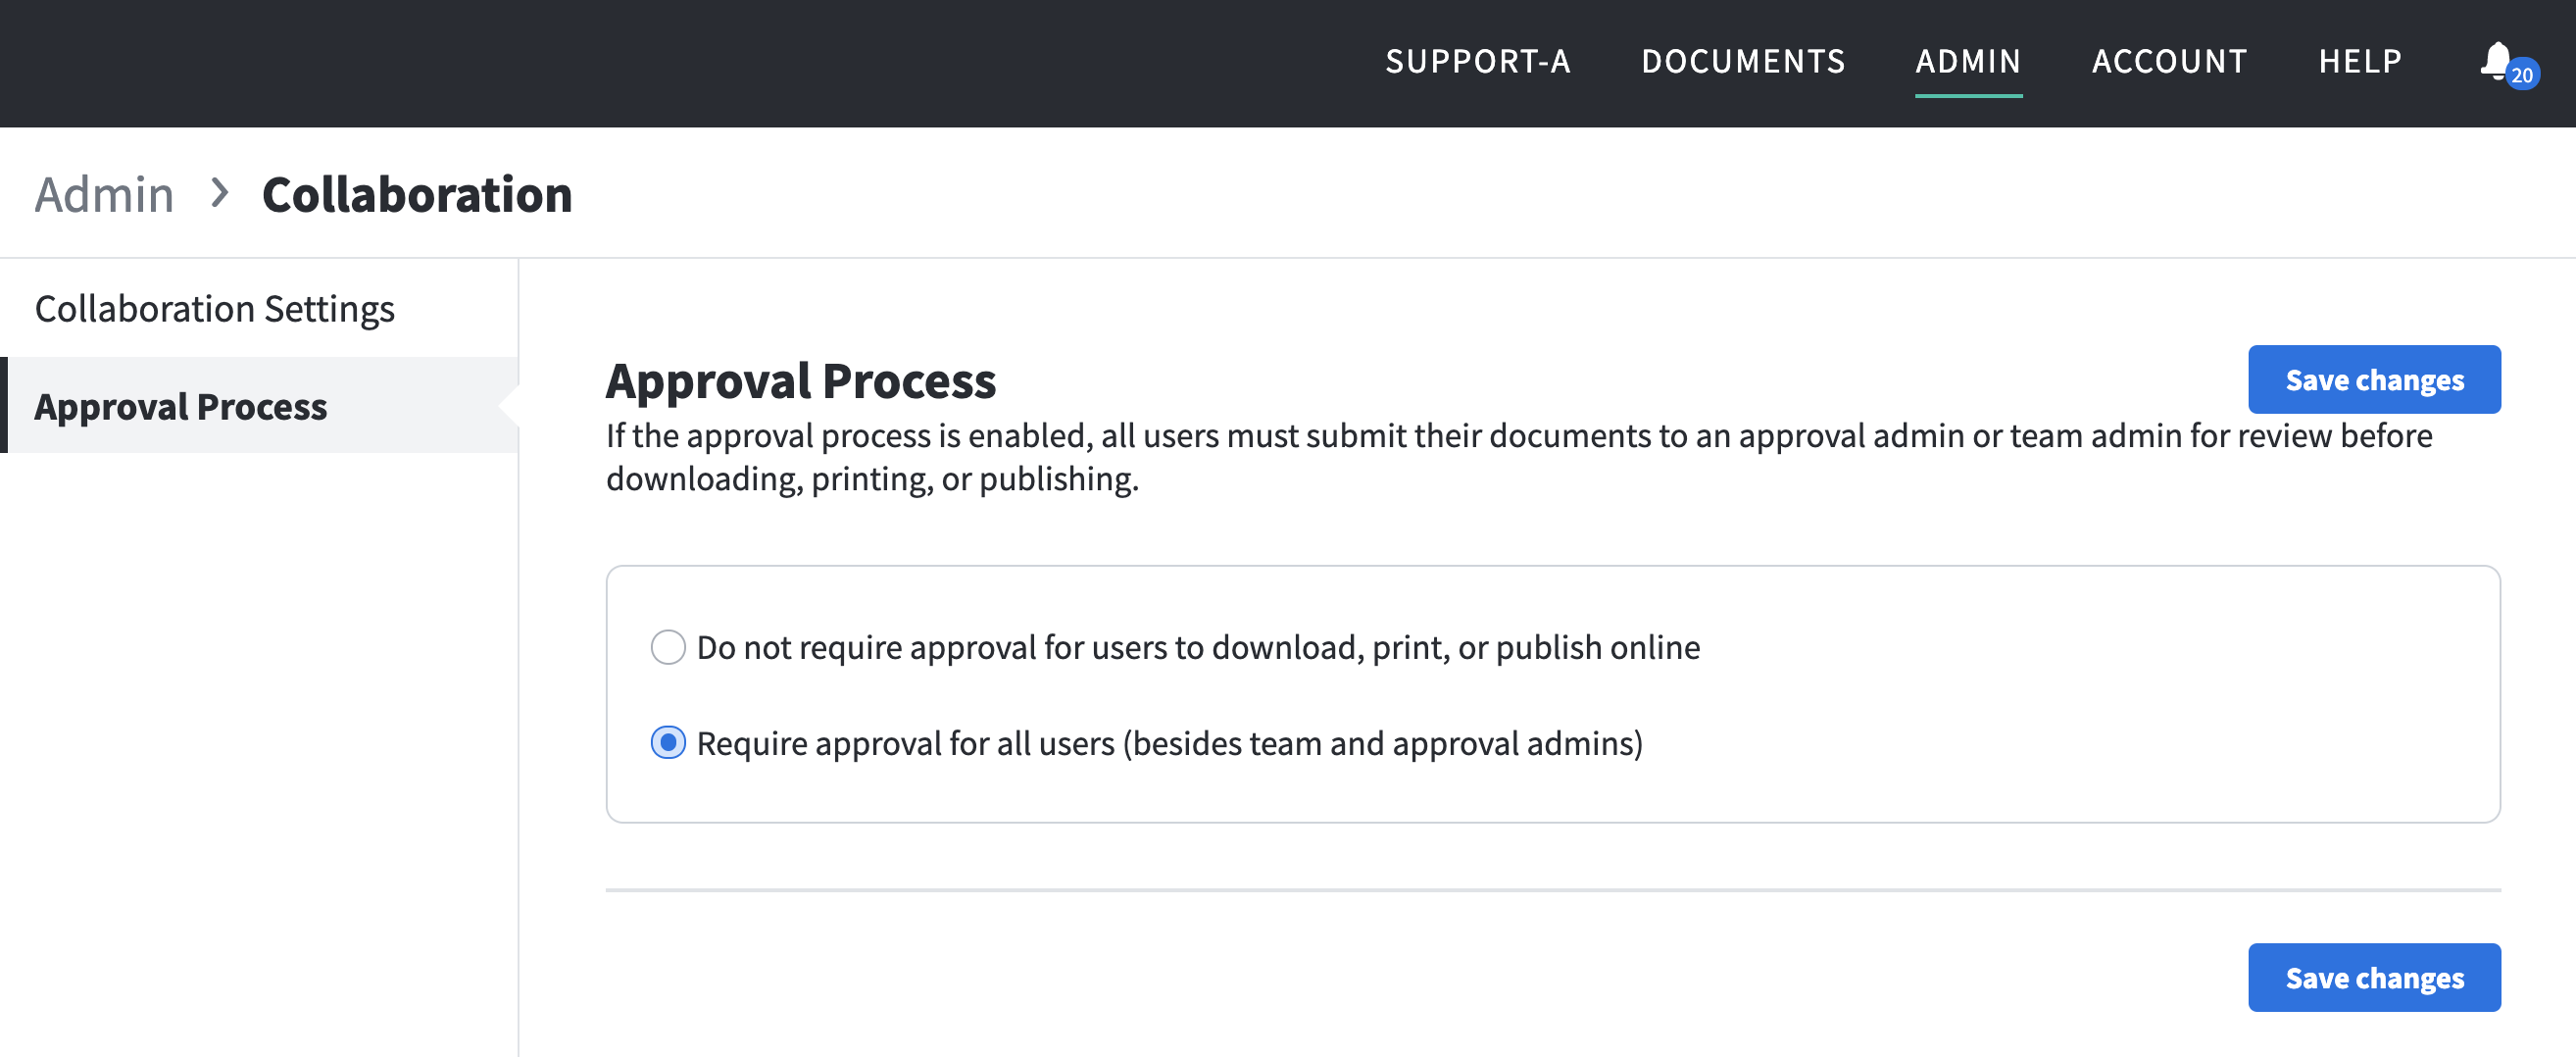
Set project specific approval
You can prevent a project from needing approval and allow users to download/use freely. We recommend placing heavy lock restrictions on these templates to prevent the user from removing content and using it freely for their own use. A good case for using this is with a social media template where downloads and uploads are straightforward without needing an admin to take a look prior to enabling export options.Note, it is also possible to have the approval process turned off for the account and have individual templates require project approvals. When editing or converting a project into a brand template, select the project approval dropdown and designate if approval is required.

Set user-specific approval
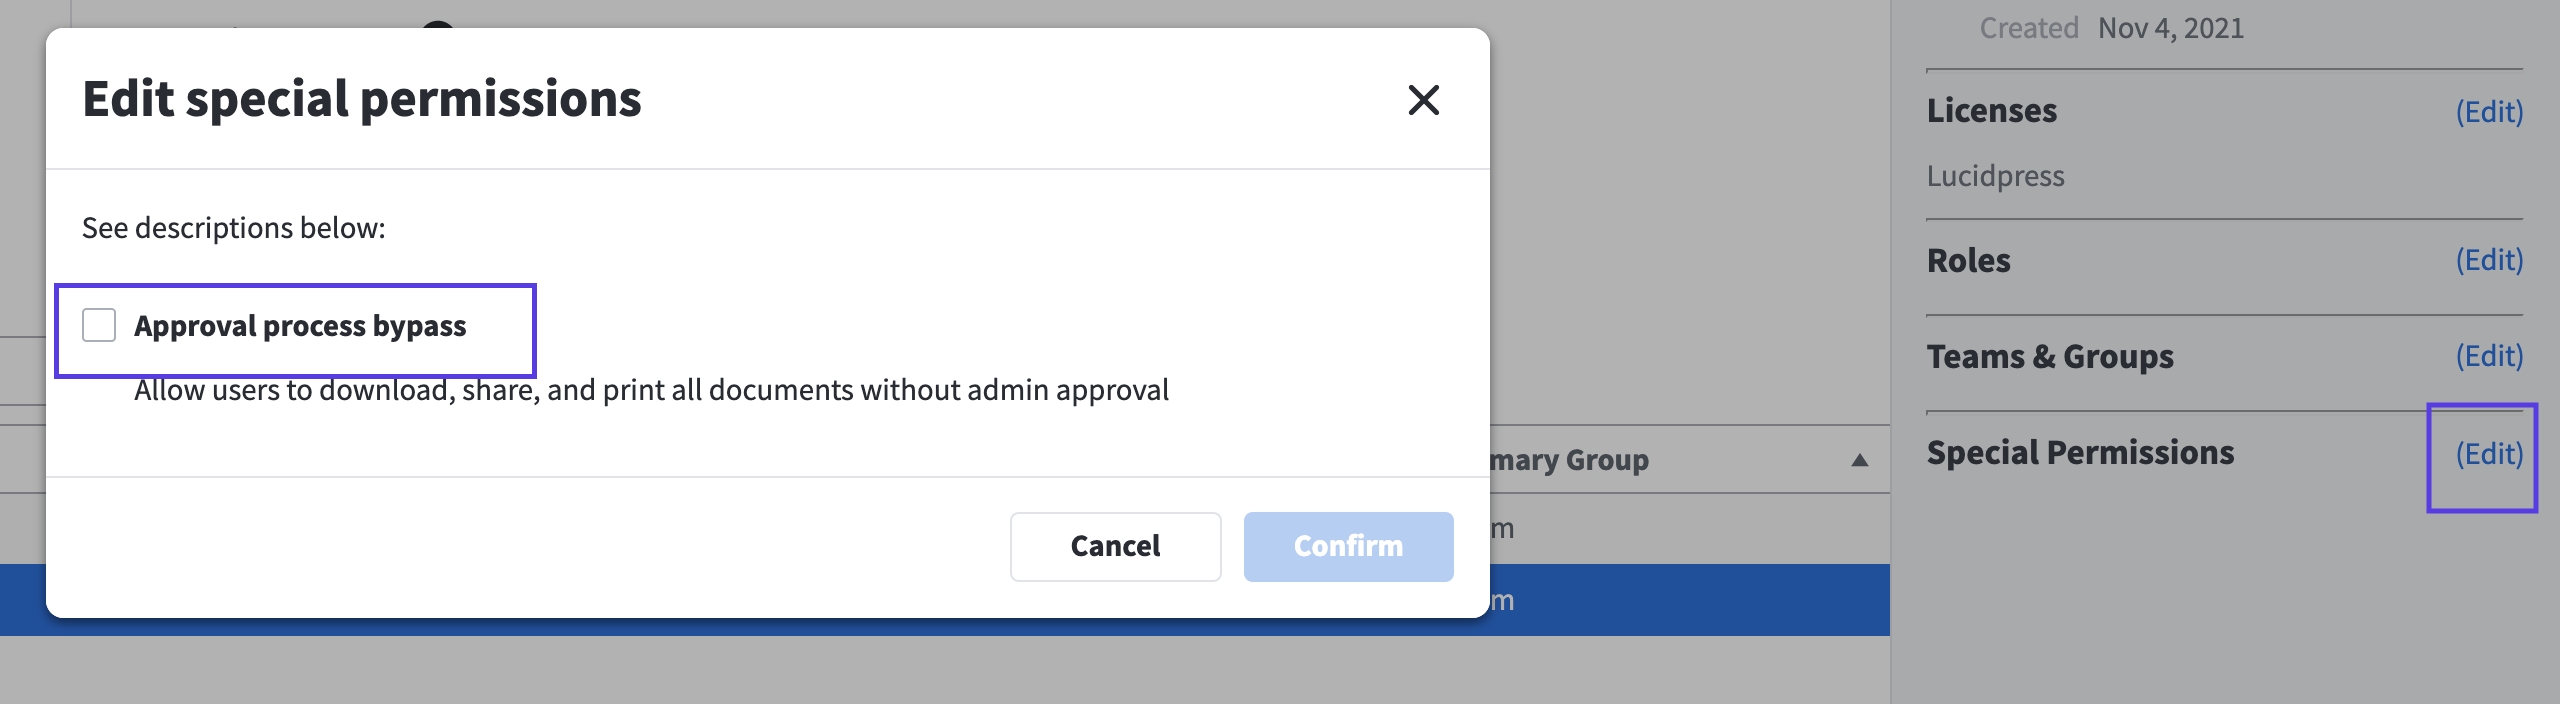
You can grant an approval bypass for a user so they no longer need to use the approval process to export.When managing users, select a user, click special permissions > approval process bypass
Designate an approval admin
When managing users, select a user, click edit roles > select "approval admin". Enabling a user an an approval admins will remove them from needing to request approval and allow them to receive and approve project approval requests.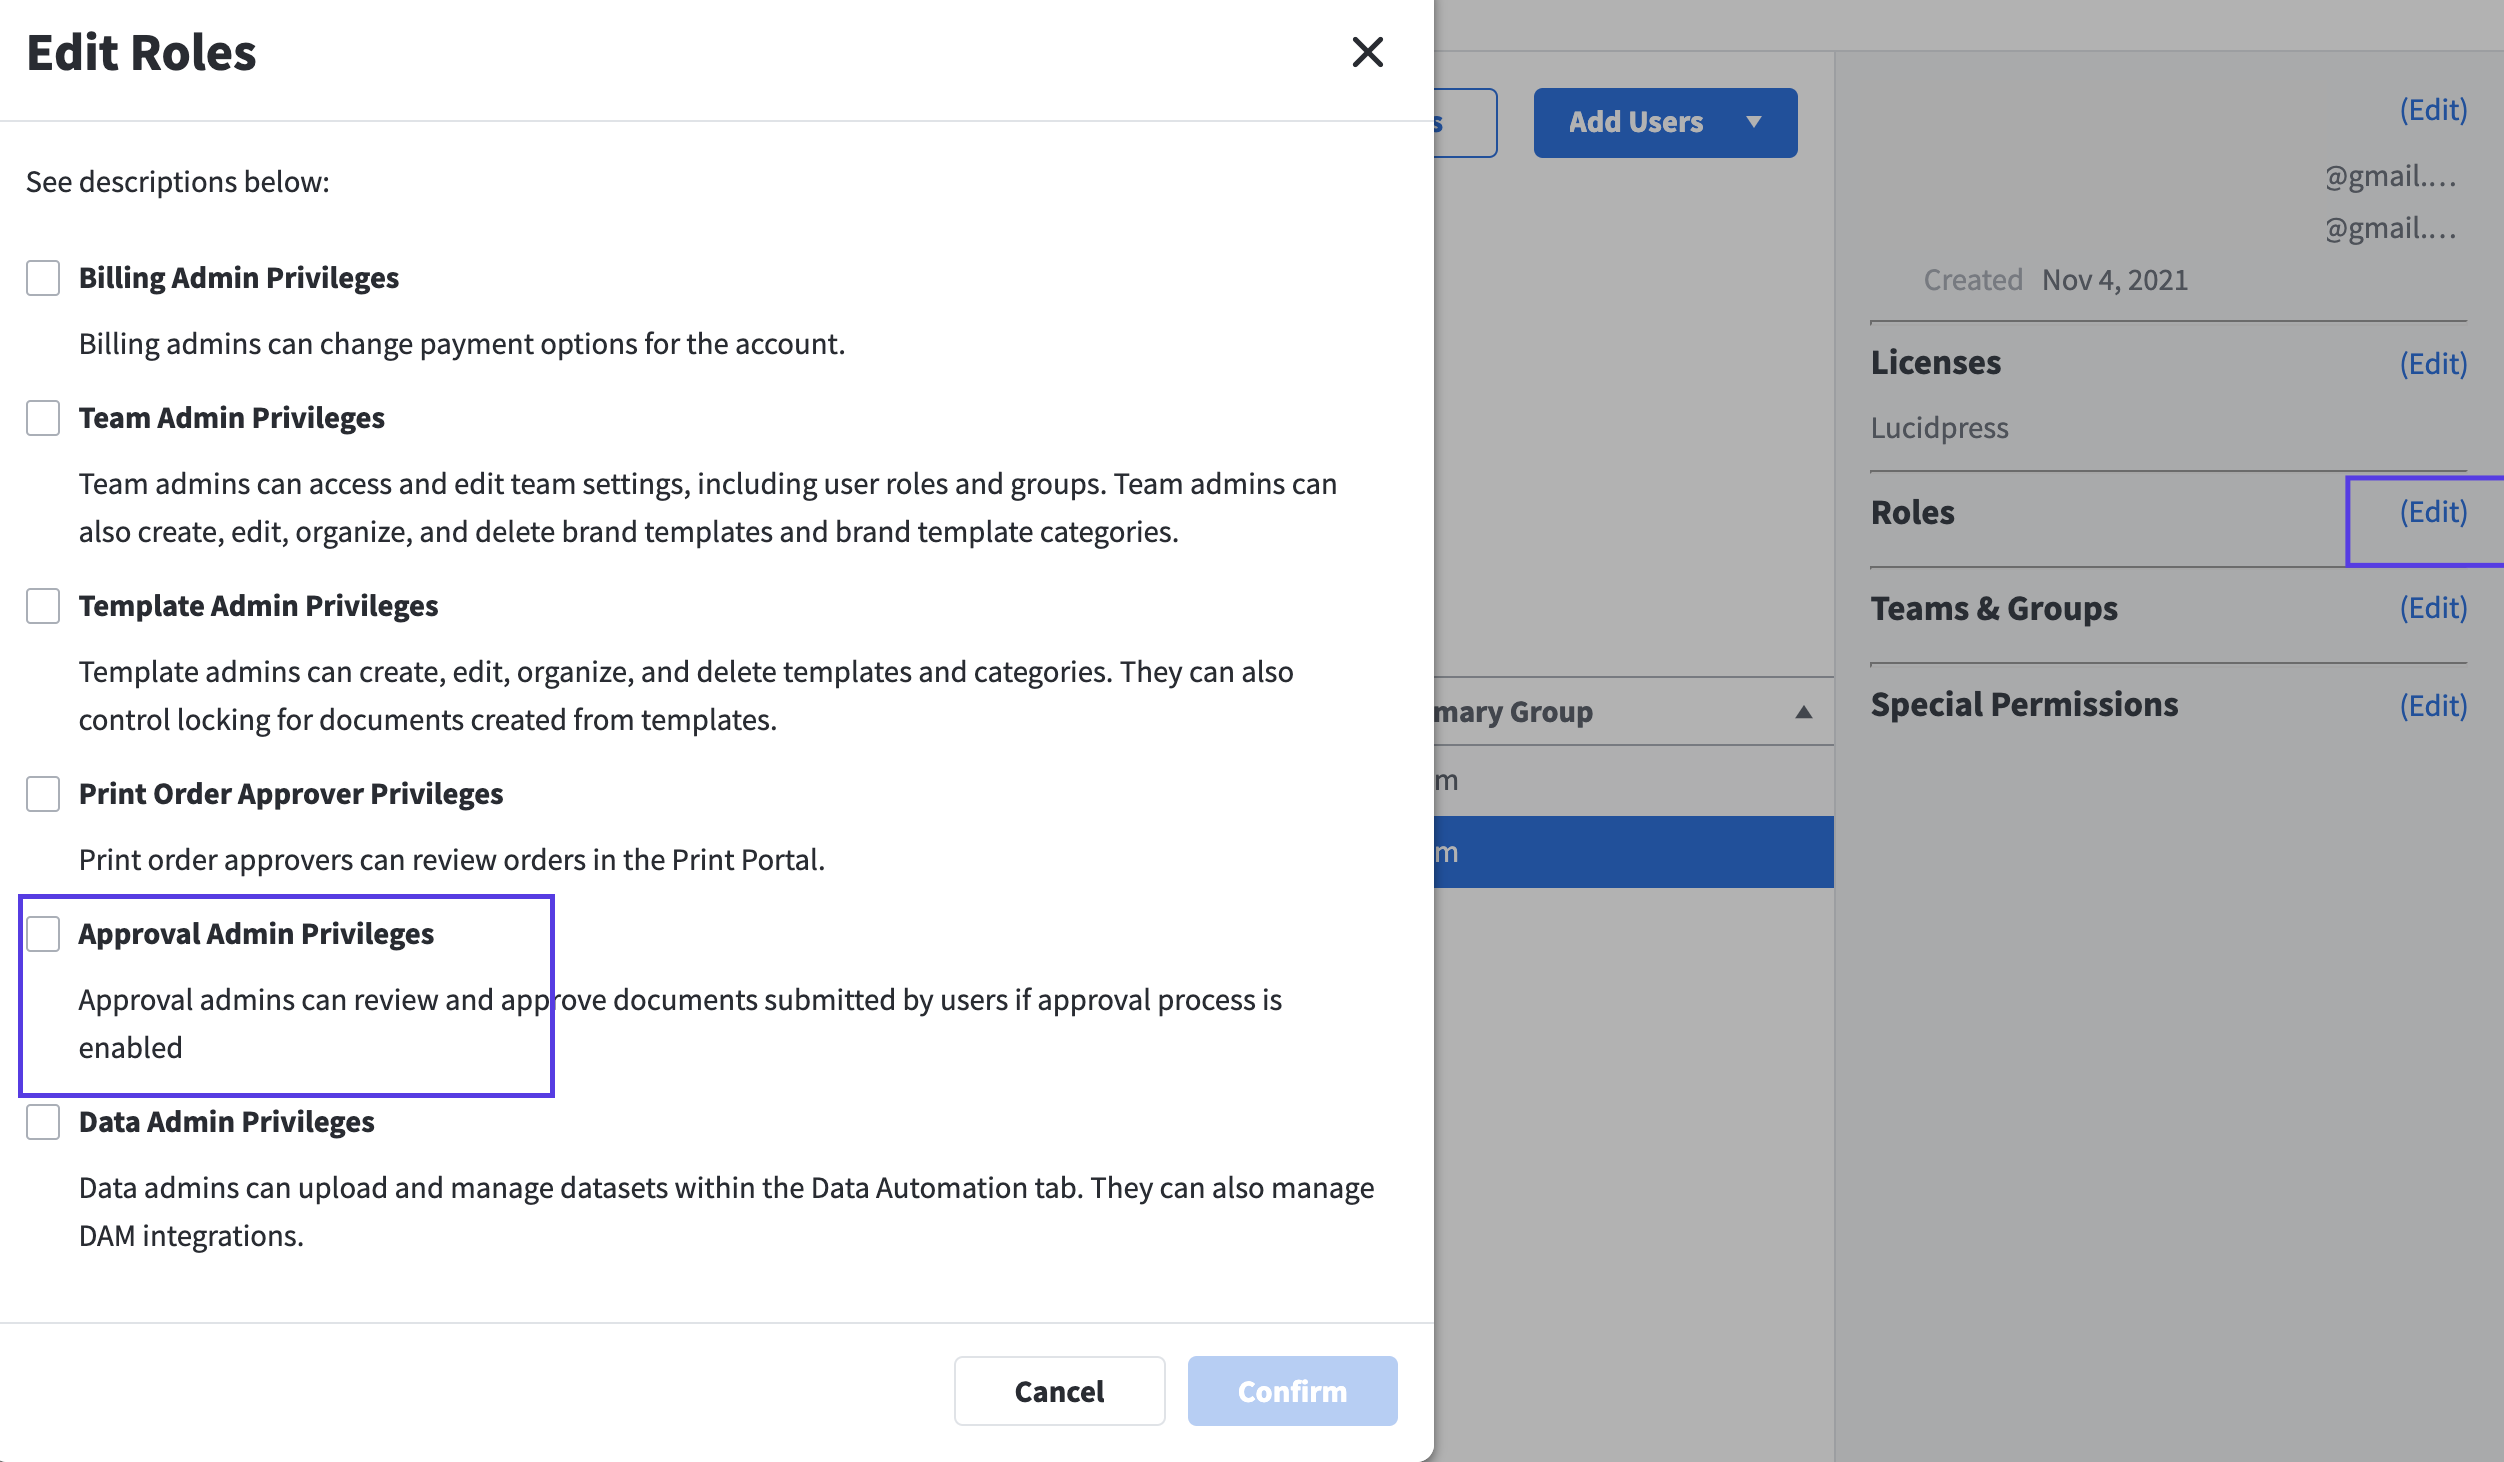
What the approval process looks like for admins
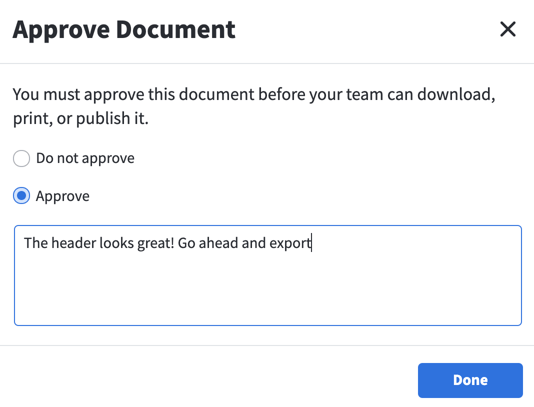
The admin can find a project that has been submitted to them for approval in their “Shared with Me” folder on their projects page. When they open the project, a blue “Review & Approve” button will display in the top right corner, which they can click on to navigate to the “Approve project” dialog box.
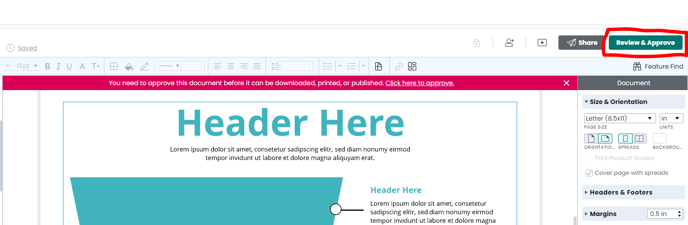
In this box, they can select whether or not to approve the project and also send a message back to the user.
What the approval process looks like for users
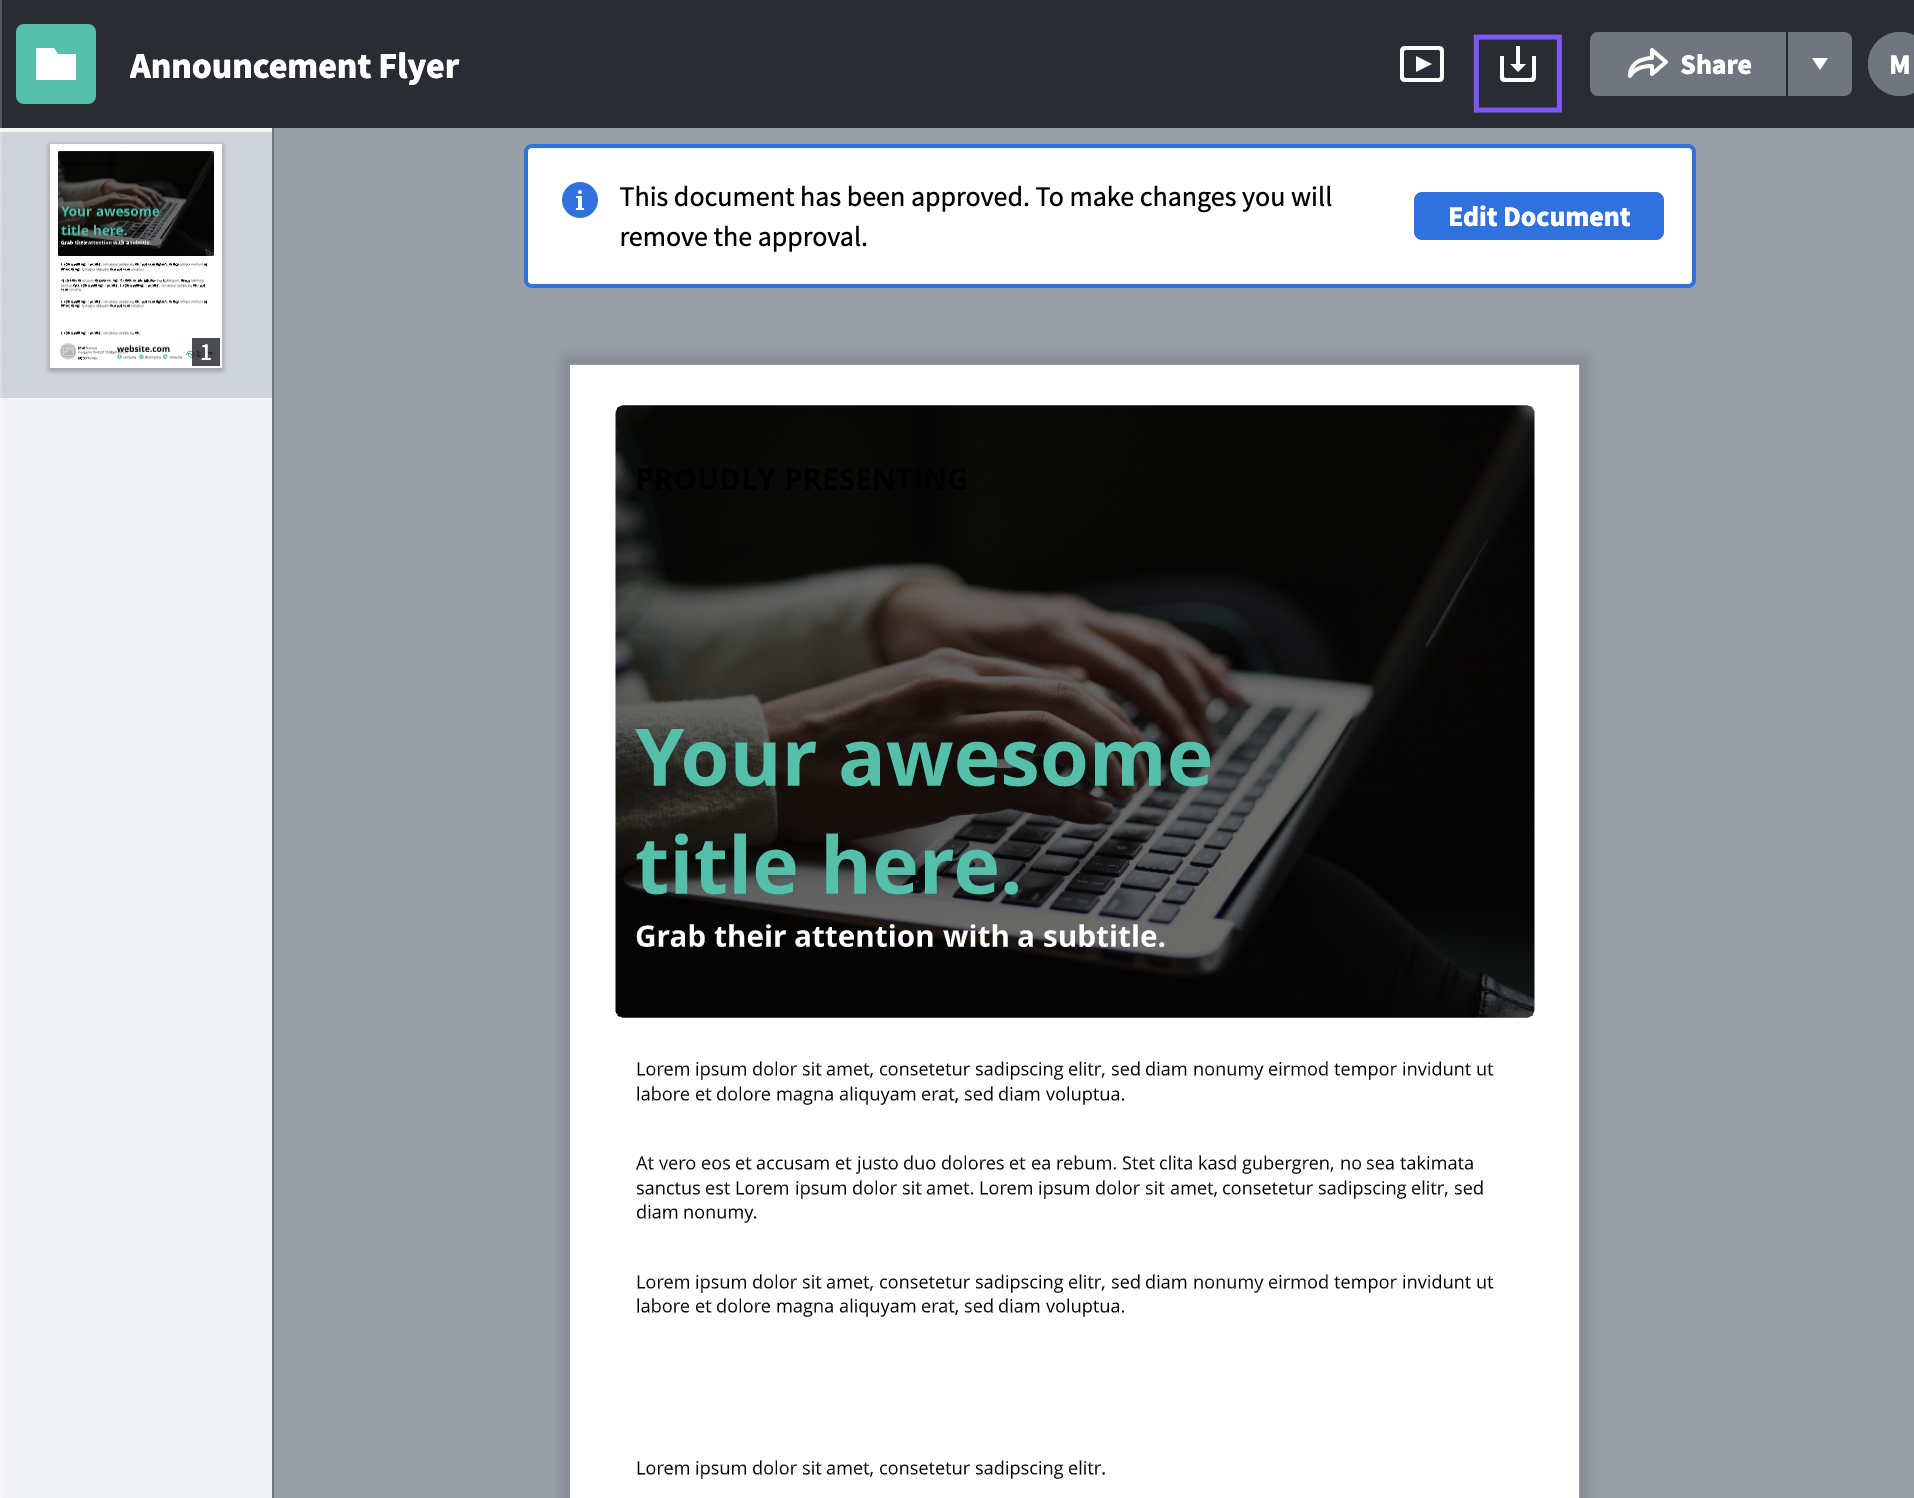
To submit an approval request for changes made to a project, users can click on the blue “Request Approval” button in the top right corner of their project screen.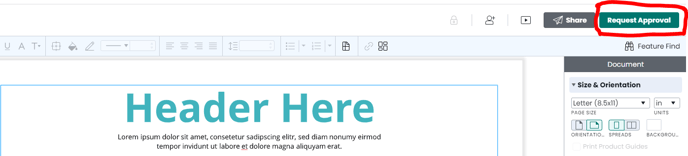
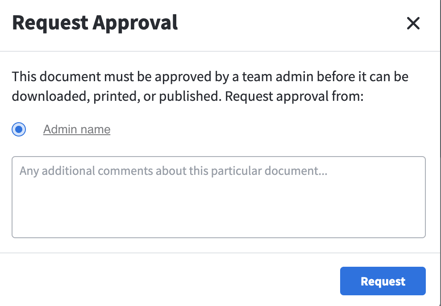
They will then be invited to select an admin to request approval from and send a custom message to that admin.
Check approval status
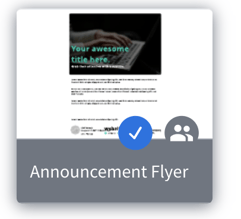
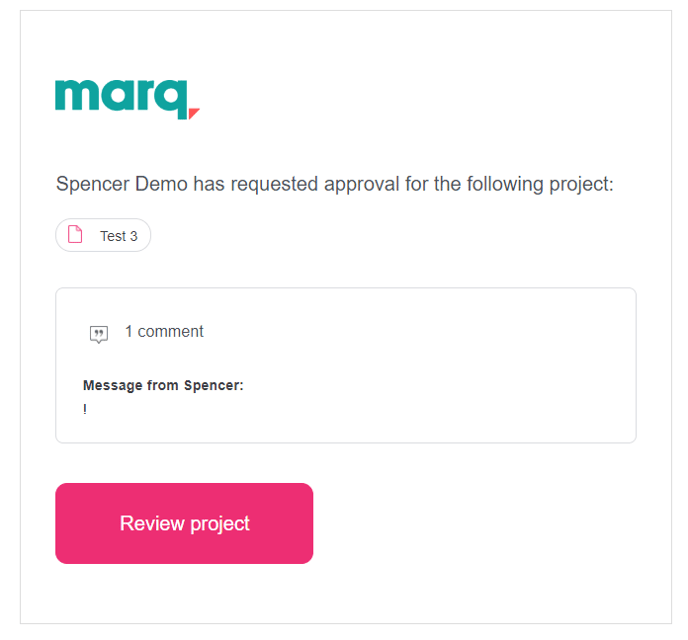
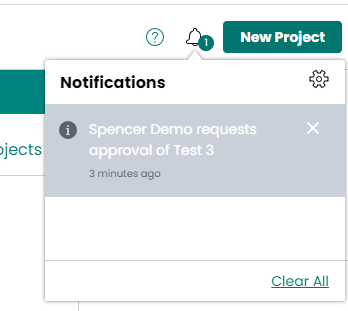
Users and admins can see the status of shared projects in their projects pages. A project will display an hourglass if it is waiting for approval, a blue check mark if it has been approved, or a red x if approval has been denied. The user will also receive a notification and email when a project is approved or declined.