
Once you have created your team, you can add users. Click on the user panel and then click the "add user" button.
Jump to a section
| Overview |
| Adding a single user |
| Adding multiple users |
| Add by email |
| Add manually |
| Add by domain |
| Add by CSV |

When you are in the Users panel, click the "+User" button on the top-right to add users to your team.
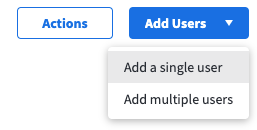
Adding a single user
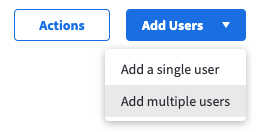
Adding multiple users
Selecting add users > add multiple users will lead you to the advanced add user options
There are four different ways you can add new users to your Marq account. To utilize Marq smart fields, we highly recommend adding your users by CSV.
When inviting a user, new users (users that haven't had an account before) will be automatically added. Users invited that already have existing accounts will receive an invite to join your team. You will not see them in your list of users until they accept the invite.
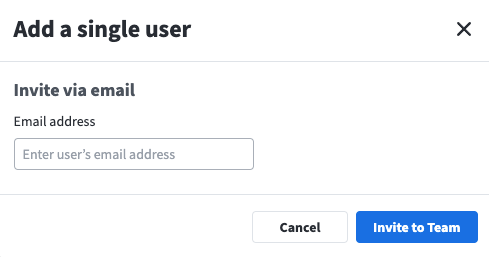
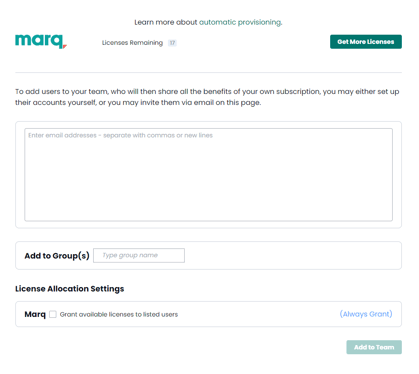
Add by Email
The easiest way to add users to your Marq account is by email. Simply type in the user's email address and click the "Add to Team" button on the bottom-right of the page.
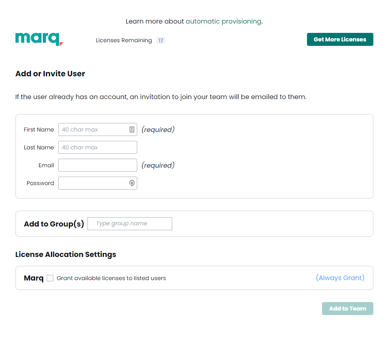
Add Manually
If you would like to add more personalized information to your user’s account, you can select Add Manually from the tabs on the left. You will then be able to add the user’s first name, last name, and email, assign them to a group, and even set a password for them. After adding this information, click the "Add to Team" button on the bottom right of the page to create a new user.
Add by domain
If you are integrated with Google you will have the option of adding users to your Marq team by pulling a list of domains from your Google instance. Learn more about configuring this here.
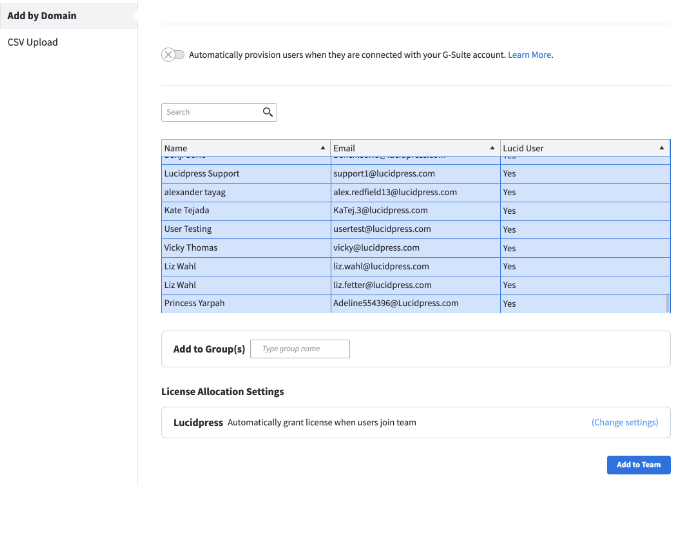
To add users by domain, select "Add by Domain" from the tabs on the left. A list of all the users in your Google instance who are not currently a part of your Marq account will appear on your screen.
You can see whether a user currently has a Marq account by navigating to the "Lucid User" column. Each user will display one of the three following statuses:
- Yes: The user currently has a personal Marq account and you can invite them into your account.
- Pending: You have previously sent this user an invitation to join your account.
- No: This user does not currently have a Marq account and you can add them directly into your account without an invitation.
To add users from the domain list to your account, select one or multiple and click "Add to Team"
CSV upload
If you would like to add a large number of your employees to your Marq account, you can quickly do so with our CSV import feature. To upload using this method, create a spreadsheet in the format below and then save it as a .csv file (all the columns below must be included and should be in the same order). If you would like to add additional columns for the profile smart fields, add them to the end of the sheet. To import this file, click “Choose file,” select your list, and click the "Add to Team" button on the bottom right of your page.
Here are a few examples of column headers you can use.
'Address',
'Billing Code',
'Cell Phone',
'City',
'Company',
'Email', (required)
'First Name', (required)
'Full Name',
'Group Name',
'Last Name',
'License Number',
'Logo',
'Office ID at Print Vendor',
'Office Name',
'Order Prints Enabled',
'Other Groups',
'Password',
'Primary Group',
'Profile Image',
'State',
'Title',
'User ID at Print Vendor',
'Username', (required)
'Website',
'Work Phone',
'Zip',
Note - profile image and logo must be public image links and can support multiple values by separating by comma
You can also click the "Download Example File" link to get the CSV pre-formatted and ready for your use.
- Setting/Updating Other Groups
Users can be made members of groups by providing the groups' names in the Other Groups column. If a user should belong to multiple groups, list each relevant group in the cell for that user, separating each group using a semicolon. - Setting/Updating Primary Groups
Enterprise-level accounts can set primary groups for users by specifying a group name in the Primary Group column of the CSV file. Each user can only have one primary group. You can also leave a cell blank in the Primary Group column to set the user's primary group to be the default group (the account). If you are unfamiliar with primary groups, visit our Group-based User Management Tutorial to learn more.
- Specify the path to its unique parent
When you set/update the group(s) for the users, if the group name is identical to the name of another group, you need to specify the path to its unique parent.
For example, there are two sub-groups named 'Eng' - one is under the 'USA' parent group, and another is under the 'EUR' parent group. If you want to add the user to the 'Eng' group under 'USA', you need to specify the group name as 'USA > Eng' in the group column. Make sure the parent name the path starts with (like 'USA' in the example) is unique. If it isn't, keep adding parents to the path (like 'NA > USA > Eng') until the first name is unique. - Create a new Group
You can also create new groups or subgroups by specifying the path from a unique parent (as described above) in the Primary Groups or Other Groups column. If you specify no parent or a parent that is not unique enough, a new group will be created from the root account level. You can bulk manage users in these groups later to resolve the issue.